As an Amazon Associate I earn from qualifying purchases. Learn More.
If you’re a craftsman who works with wood, then you don’t have to be told how useful a table saw really is. It’s basically one of the most essential tools that can be found in a woodworker’s workshop. With a powerful blade, a table saw can work more efficiently.
You may face various situations when you need to change a saw blade on a table saw. But do you know how to change a table saw blade properly?
Table of Contents
The Basics to Change the Blade on a Craftsman Table Saw
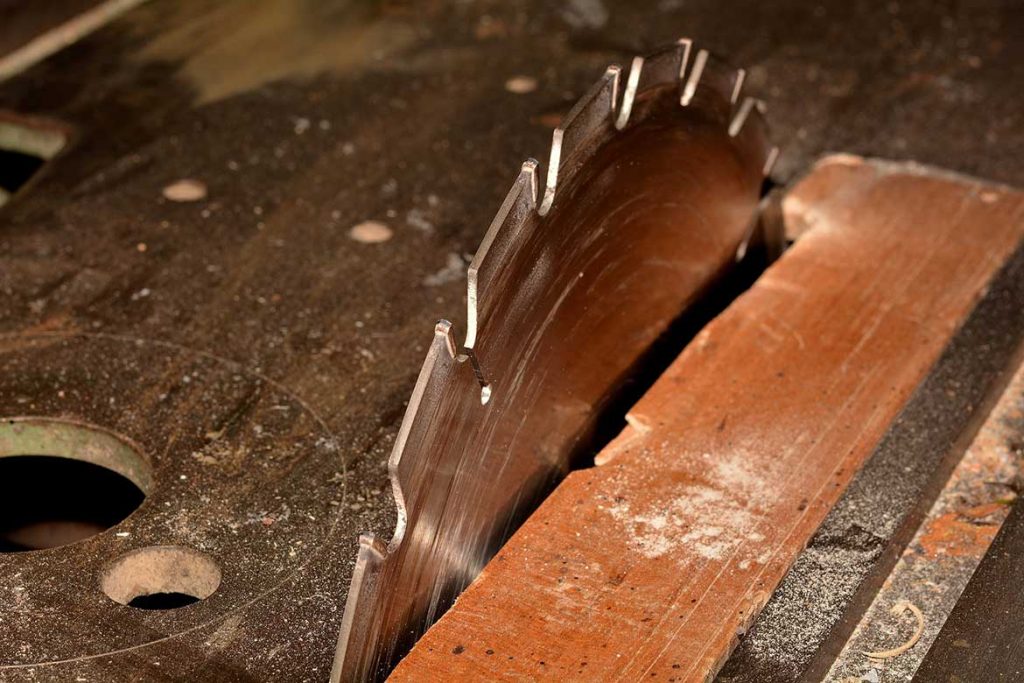
A table saw is used in multiple projects and it is undoubtedly the best and most powerful tool in terms of cutting woods accurately in a repeatable manner. But in order to derive the best out of the table saw, it needs to have the best blade.
However, as time goes by, a table saw blade doesn’t always remain in its best shape and usually loses all its qualities as the teeth get worn and rusty and sharpening the teeth might not be a feasible solution most of the times.
Also Read: How to Cut a Taper on a Table Saw
That’s why you’ll require to get rid of the old blade and replace it with a new one from time to time. But the process of changing the blade on a table saw isn’t a simple thing to do rather it may be much more exhausting than you think, especially when it’s your first time.
However, with some proper steps, you can do it all by yourself pretty easily. In this article, we are going to have a discussion on how to change the blade on a table saw.
Required Tools to Change the Blade on a Table Saw
In order to change the saw blade on a table saw, you’ll require some necessary tools that will help you disassemble the table saw and replace the worn-out blade with a new one.
The first thing you’ll need is a new table saw blade. Secondly, you’ll need a set of screwdriver which will help you to strip down the table saw. Next, you’ll require a set of wrench to loosen the blade nut.
These are some basic tools required to change a table saw blade. In addition to that, you’ll need a few more tools for your safety precautions like work gloves and table saw blade lock.
Step by Step Guide on How to Change a Table Saw Blade
The process is not difficult but you have to follow those simple steps very carefully. Because assembling and disassembling of any tool requires your extra care.
1. Disconnecting the Power Supply: A table saw is an extremely powerful tool that can be intensely hazardous if not handled correctly.
So, for your safety, the first thing you need to do when changing the blade on a table saw is to make sure the power supply of the table saw is disconnected. If it’s not already disconnected then pull the plug out before you proceed to the next step.
2. Detaching the Blade Plate from the Table Saw: Table saws have numerous designs that are why you need to figure out where the blade plate is located first by going through the user manual. After finding the blade plate, you need to unscrew it with a screwdriver so that you can safely remove it from the table saw.
3. Taking out the Old Blade from the Table Saw: After removing the blade plate from the table saw, you can now be able to pull out the old blade easily. As a safety precaution, place a piece of wood against the blade so that it doesn’t accidentally start to turn.
Find out where the arbor nut is located and unfasten the arbor nut using a wrench by turning it counter-clockwise. Remove the washer as well in the process. Remove the Blade from the table saw and set it aside.
4. Installing the New Blade on the Table Saw: After removing the old blade from the table saw, it’s now time to install the new one. Make sure the teeth of the blade are positioned towards you.
After placing the new blade on the arbor, you now have to replace the arbor nut and washer. Use the same method as before to re-fasten the nuts but this time turn the wrench clockwise and don’t forget to place the piece of wood against the blade while doing it.
5. Reinstalling the Blade Plate: After replacing the old blade with a new one, you now have to reinstall the blade plate. Place the blade plate where it was originally located and tighten the screws using a screwdriver.
6. Reconnecting the Power Supply: Your job here is almost done. Now you only have to reconnect the power supply to check whether the table saw is working properly or not. Turn the saw on a bit to determine if the blade has installed correctly.
Wrap Up
A table saw is arguably the most useful tool for wood craftsmen and it needs to be adequately maintained. So, it wouldn’t be a good idea to use low-quality blade on the table saw because low-quality blade often tends to be accident-prone.
That’s why you need to use the best quality blade for your table saw all the time. And of course, don’t forget to keep in mind that safety always comes first. Take proper safety measures while changing the blade on your table saw.